반응형
Certificates, Identifiers & Profiles 세팅
1. 인증서 클릭
- 애플 디벨로퍼 홈페이지로 들어가서 인증서로 들어가기

2. key 만들기
- 처음으로 키를 생성해줘야 한다.

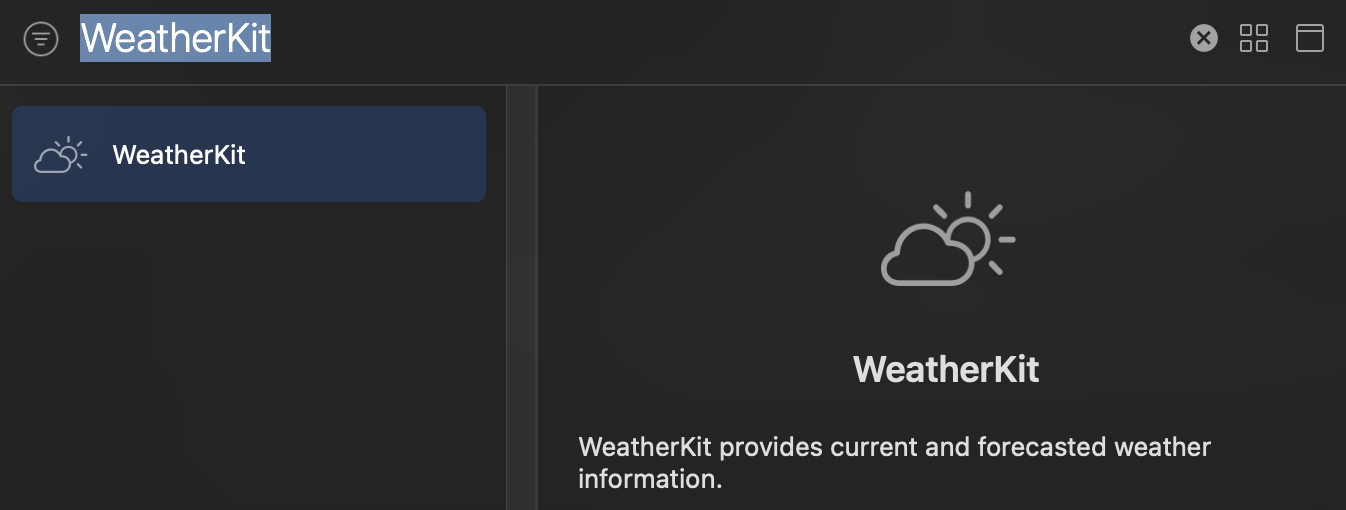
- 사용할 기능(WeatherKit)에 대해서 체크

- Register 버튼 클릭

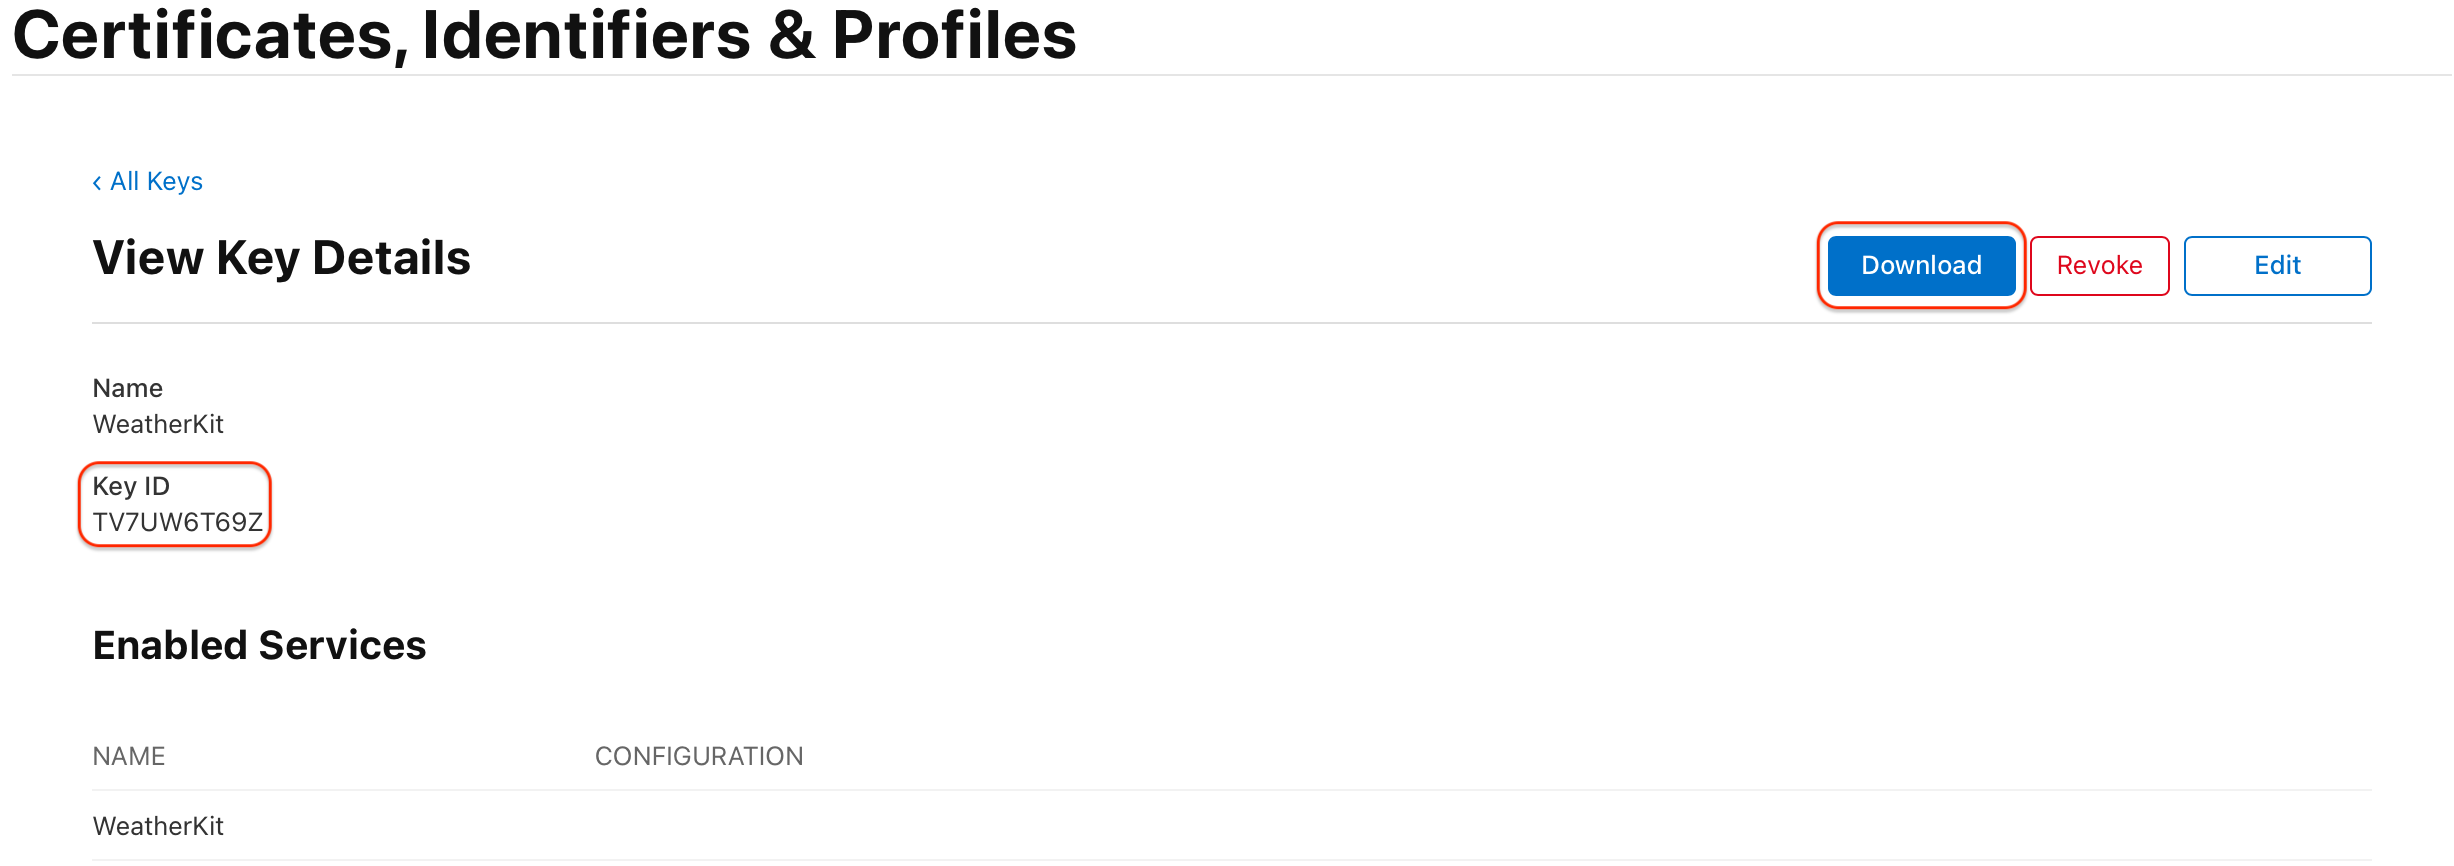
- Download 받은 걸 안전한 장소에 보관(한 번만 다운로드 가능하다)
- Key ID와 Apple ID는 만약 Web Token 생성이 필요할 때 사용.

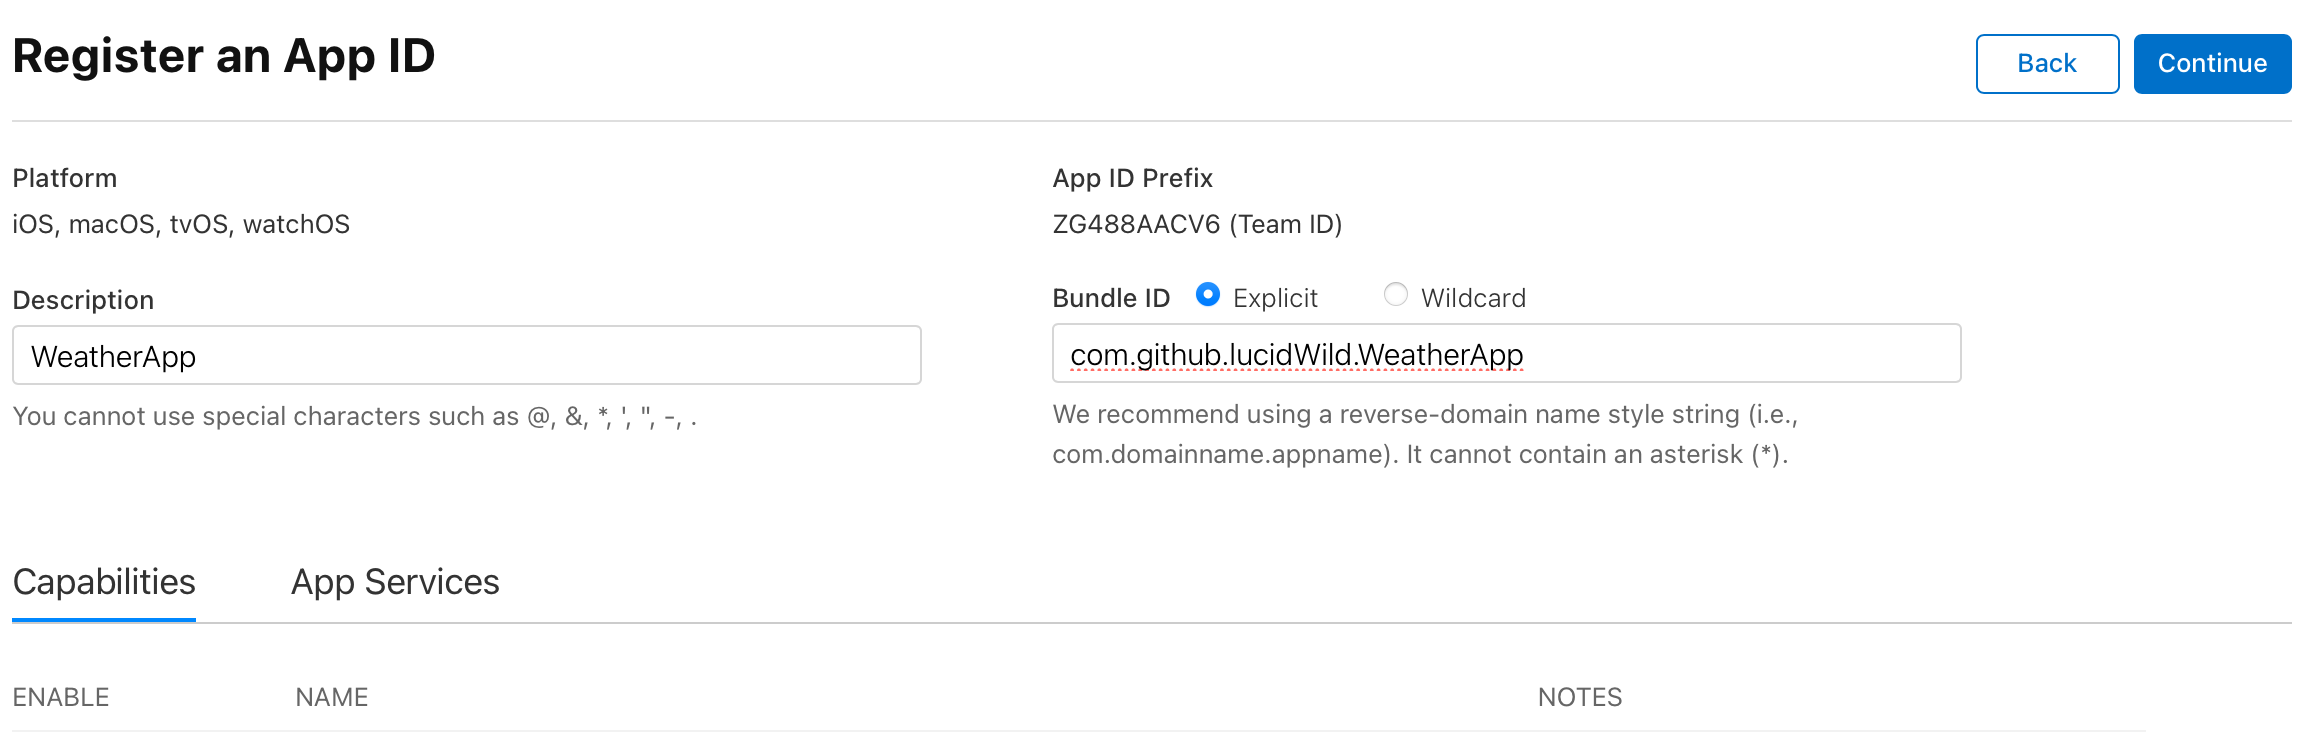
3. App ID 만들기
- Identifiers 클릭
- Continue -> Select Typle : App 클릭

- Bundle ID와 Xcode의 Bundle Identifier랑 같아야 한다


Xcode에서 기본 설정
- Capability 클릭

- WeatherKit을 추가해주면 사용 준비 끝
날씨 불러오기
- WeatherService가 날씨의 데이터를 얻어오기 위한 인터페이스
- async/await 사용
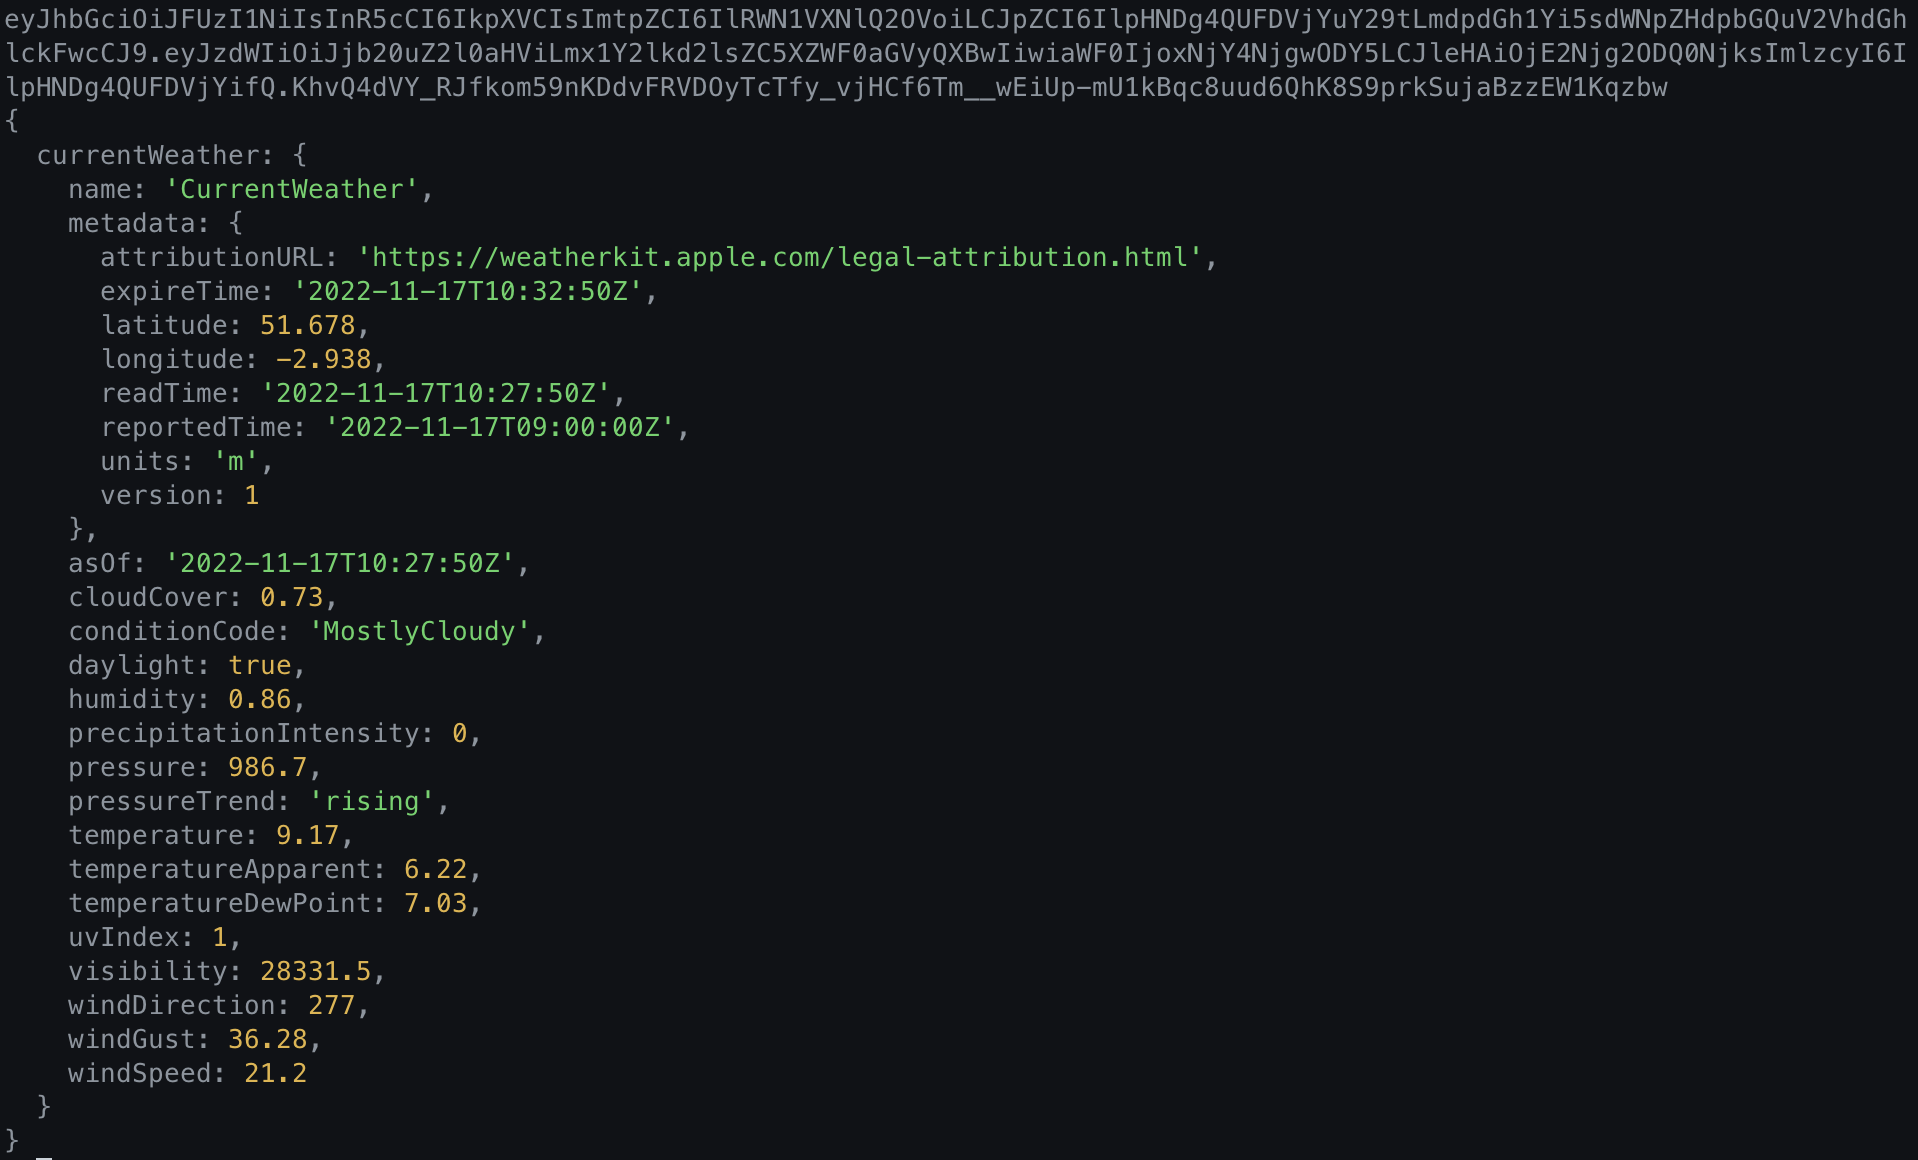
- 출력 결과

참고
Node로 Web token 생성하기
순서대로 따라 해보세요
1. JSON 파일 생성하기


2. index를 app으로 변경
- 위에서 생성된 JSON 파일 수정 및 터미널에서 추가


- 위의 작업을 마치면 아까 위에서 다운로드한 키(Key) 파일을 WeatherAppServer 폴더에 넣기
3. app.js 세팅
- 생성된 app.js 파일로 들어가 아래코드와 같이 작성해 준다

- 이와 같이 WebToken과 날씨가 생성된다. Postman에서 Bearer Token 사용하면 된다.
수동으로 설정 Web token 생성하기
Base64 Encode and Decode - Online
Encode to Base64 format or decode from it with various advanced options. Our site has an easy to use online tool to convert your data.
www.base64encode.org
1. 위의 홈페이지에서 변환 or 터미널을 이용하여 작업
2. Unixtimestamp converter 사용하여 변환하여 Web Token 얻기
Unix Time Stamp - Epoch Converter
Epoch and unix timestamp converter for developers. Date and time function syntax reference for various programming languages.
www.unixtimestamp.com
반응형
'Xcode > Framework' 카테고리의 다른 글
| [iOS/Swift] SceneKit의 사용법 (2) - 주사위 만들기 (0) | 2023.01.08 |
|---|---|
| [iOS/Swift] SceneKit의 사용법 (1) - 정육면체와 달을 만들어 보자 (0) | 2023.01.07 |
| [iOS/Swift] ARKit의 종류 (0) | 2023.01.07 |
| [iOS/Swift] CoreML (2) - 훈련 된 Model 사용하기 (3) | 2023.01.04 |
| [iOS/Swift] CoreML (1) - Create ML으로 Model 만들기 (0) | 2023.01.03 |